 TabTasker
Here's the outcome you're after: a stage-by-stage audio process, prep, record, monitor, post, export, that gets your podcast, video, or livestream sounding professional without you buying gear you don't need. The rule that governs every step is simple: polishing never beats being clean. No plugin fixes a badly gained recording, and no denoiser makes up for a mic placed wrong. If you remember one industry standard, make it this: most platforms target a standard loudness level for consistency, with Apple Podcasts typically requesting a lower loudness level than others.
You don't need to guess your way through this. Below is the checklist, broken into the five stages that matter, with time estimates, budget tiers, and the exact settings that keep audio clean before it ever reaches a plugin. For finishing tasks, like trimming, denoising, converting, and compressing, a browser-based option like Tabtasker's Audio Editor handles the work locally, so your raw files never leave your device.
- Prepare: quiet room, mic positioned, gain set correctly
- Record: 10 seconds of room tone, then your content
- Monitor: calibrated headphones or monitors, phone-speaker check
- Post: denoise, EQ, compress, level to LUFS target
- Export: correct codec and loudness settings for your platform
Scroll to the bottom for a printable, tick-box version of this entire checklist.
Key Takeaways
Clean recording, correct gain staging, and a repeatable finishing chain matter more to final audio quality than any single piece of gear you buy.
| Point | Details |
|---|---|
| Gain staging first | Set peaks between -12 dBFS and -6 dBFS during your loudest moments to prevent baked-in noise and clipping. |
| Room tone every session | Record 10 seconds of silence at the start so denoising tools have a natural reference profile. |
| Match LUFS to platform | Target around -14 LUFS for most platforms and -16 LUFS for Apple Podcasts before export. |
| Process in order | Denoise, then edit, then EQ, then compression, then de-ess, then limit and normalize last. |
| Use Tabtasker for finishing | Trim, denoise, convert, and compress audio privately in your browser with no upload or account needed. |
Table of Contents
- Your Content Creator Audio Tool Checklist, Stage by Stage
- Essential Hardware: What to Buy at Each Budget Tier
- Which Software and Plugins Actually Belong in Your Chain?
- How Do You Set Up a Recording Space That Sounds Good?
- Your Repeatable Post-Production Workflow
- Fixing the Audio Problems That Wreck Otherwise Good Content
- Your Printable, Tick-Box Session Checklist
- Which TabTasker Tools Cover Which Checklist Tasks?
- Why a Checklist Beats Gear Chasing Every Time
- Finish Your Audio Faster, Without Sending It Anywhere
- Frequently Asked Questions
- Sources
Your Content Creator Audio Tool Checklist, Stage by Stage
A checklist only works if you actually run it every time you sit down to record. Treat this as your session script, not a reference you read once and forget.
Preparation (5–20 minutes)
- Choose the quietest room available, closets and small carpeted rooms usually beat large open ones because there's less surface area for sound to bounce off.
- Close windows, turn off HVAC and fans, and silence phone notifications.
- Check your mic-to-mouth distance: 4 to 8 inches for dynamic mics, 8 to 12 inches for condensers.
- Confirm your interface is recognized by your recording software and set to the correct sample rate (48kHz is the safe default for most video and streaming platforms).
- Record 10 seconds of silence, your room tone, before you say a word.
Cost tier note: starter setups need nothing beyond a mic and a quiet closet. Mid-tier and pro setups add acoustic panels and a dedicated recording space, but the prep checklist itself doesn't change.
Recording (15–60 minutes)
- Watch your input meter while speaking at your loudest natural volume; peaks should land around -12 dBFS to -6 dBFS, according to Avid's gain staging guide.
- Do a 30-second test take and play it back through headphones before committing to a full session.
- Keep mic gain fixed once set. Riding gain mid-recording introduces inconsistency that's hard to fix later.
- For batch recording (multiple episodes in one sitting), re-check levels between sessions since energy and mic distance tend to drift.
Monitoring (10–30 minutes)
Set your headphone or monitor volume to a comfortable reference level and leave it there for the whole session, changing it mid-take skews your judgment of how loud things actually are. If you're using standard headphones instead of studio monitors, a calibration tool can correct for frequency response quirks. Sonarworks' 2026 home studio checklist points out that calibrated headphones now let many creators mix reliably without ever buying monitors.
Post-Production (20–60 minutes per episode, less in batch)
- Import your room tone alongside your recording, it gives noise reduction tools a clean reference to work from.
- Apply a light denoise pass. Aggressive settings introduce artifacts that sound worse than the noise you removed.
- Cut dead air, false starts, and long pauses.
- Apply corrective EQ, then gentle compression, then a final limiter.
- Check your loudness meter against your target LUFS before exporting.
Export (5–15 minutes)
- Pick the codec and bitrate your platform expects.
- Normalize to your target loudness (more on exact numbers in the software section below).
- Run a 30-second playback on a phone speaker, the Pixteller audio finishing checklist recommends this as a fast, reliable way to catch clarity problems before publishing.
Pro Tip: Record 10 seconds of room tone at the start of every session and set your loudest peaks between -12 dBFS and -6 dBFS. These two habits alone prevent more audio problems than any plugin you'll buy.
Essential Hardware: What to Buy at Each Budget Tier
Your microphone choice depends more on your content format than your budget. A dynamic mic like a Shure SM7B-style cardioid pattern rejects room noise well, making it forgiving for untreated spaces, podcasts, and voiceover work. Condenser mics pick up more detail and a wider frequency range, which suits music and highly treated rooms, but they also pick up more of everything else, including your air conditioner. Lavalier mics clip to clothing and work best for on-camera interviews and vlogging where a boom mic isn't practical. Shotgun mics, mounted on cameras or booms, are the standard for run-and-gun video where the subject moves.
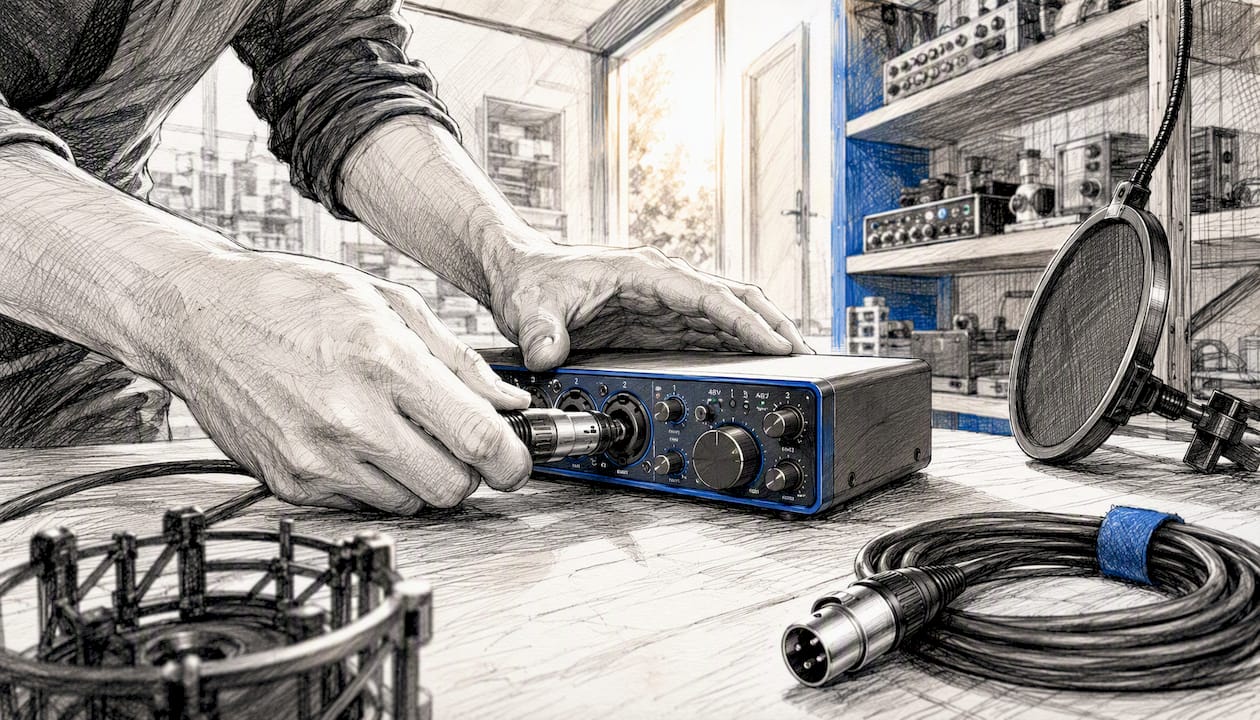
Johal's YouTube microphone checklist makes a point worth repeating: match the mic's polar pattern to your recording environment before you match it to your budget. A cardioid mic in a noisy room will always outperform an expensive omnidirectional mic in the same space.
Interface and connectivity
- USB interfaces cover most creator needs; USB-C and Thunderbolt models offer more headroom for future upgrades, according to Sonarworks' 2026 guidance on future-proofing connectivity.
- Buy more inputs than you currently need. A 2-input interface covers a solo creator, but a co-host or guest setup needs 4 or more.
- Prioritize driver stability over raw specs. A stable interface that never glitches beats one with marginally lower latency but occasional dropouts.
Monitoring gear
Closed-back headphones are the practical entry point, they isolate sound so you can monitor while recording without bleed. Calibrated headphones, paired with correction software, now serve as a legitimate primary monitoring solution rather than a compromise. Studio monitors add value once you're mixing music or doing detailed post-production work across multiple projects.
Accessories and maintenance
- Boom arm or mic stand to keep the mic in a consistent position.
- Pop filter or foam windscreen to cut plosives.
- Shock mount if your desk or floor transmits vibration.
- XLR or USB cables, plus one spare of each.
- Backup batteries for wireless lavs.
- A cable management routine, label cables, coil them the same way each time, and check connections before every session.
Budget tiers
A home recording studio checklist from Audio Tracks frames the minimum viable studio as a 2-input USB interface, one quality microphone, and headphones. That's your starter tier. Mid-tier setups add acoustic treatment and a second mic for guests. Pro tiers add multi-channel interfaces, studio monitors, and redundant recording paths. Content-creator gear guides consistently rank audio as the highest-ROI upgrade you can make, ahead of cameras or lighting, because viewers tolerate mediocre video far more than they tolerate bad sound.
Which Software and Plugins Actually Belong in Your Chain?
Your DAW needs four things at minimum: multi-track editing, clip gain automation, bus routing, and non-destructive editing so you can undo mistakes. Beyond that, most feature wars between DAWs are irrelevant to a content creator's workflow.
Noise reduction deserves a light touch. Set the reduction amount low enough that voices still sound natural, then use your room-tone sample as the reference profile. This is where creators most often overprocess, chasing "silent" backgrounds that end up sounding hollow and robotic.
Your plugin chain, in order, should include:
- High-pass filter to remove low-end rumble below roughly 80Hz.
- De-esser to tame harsh "s" sounds, especially with condenser mics.
- Gentle compression to even out volume swings without squashing dynamics.
- Presence EQ boost in the 2 to 5kHz range for vocal clarity.
- Limiter as your final safety net before export.
- A metering tool that reads LUFS, not just peak level, since loudness perception and peak level aren't the same thing.
For export targets, Pixteller's finishing checklist lists common platform norms: YouTube, Spotify, and Instagram generally favor around -14 LUFS, while Apple Podcasts commonly asks for closer to -16 LUFS. Building these into your export preset saves you from re-normalizing every episode by hand.
AI-assisted finishing tools, including automated mixing assistants, speed up repetitive tasks like leveling and basic cleanup. Sonarworks notes these tools work best on well-recorded material. They're accelerants, not substitutes for a clean take, and a poorly gained recording will still sound poorly gained after AI touches it.
Pro Tip: Run your final mix through a limiter last, never before compression. A limiter applied too early clips the transients your compressor needs to work with cleanly.
How Do You Set Up a Recording Space That Sounds Good?
Getting your physical setup right takes less time than most creators assume, and it prevents nearly every problem you'd otherwise chase in post.
- Position your mic 4 to 8 inches from your mouth for dynamic mics, angled slightly off-axis to reduce plosives without a pop filter doing all the work.
- Set your input gain so peaks hit -12 dBFS to -6 dBFS on your loudest words, verified with a quick test recording before you commit to a full take.
- Play back that test through your headphones or monitors at a fixed reference volume, don't judge levels while adjusting the volume knob itself.
- Run the phone-speaker test: export a short clip and listen on your phone's built-in speaker, since that's how a large share of your audience will actually hear it.
- Add first-reflection absorbers at the points on your side walls level with your mic, and treat one corner with a bass trap if your room has a boomy low end.
Portable reflection filters behind the mic help in untreated rooms and cost far less than full acoustic paneling. Prioritize treatment only after your gain staging and mic placement are dialed in, acoustic panels can't fix a mic positioned too far away, but a positioned mic still benefits from a treated room.
Pro Tip: Always record 10 seconds of room tone at the start of a session, even if you think the room is quiet. Denoising tools work far more naturally with a real noise profile than a generic one.
Your Repeatable Post-Production Workflow
Run your processing in the same order every time: cleanup and denoise first, then content edits (cutting dead air and mistakes), then corrective EQ, then compression and leveling, then de-essing, then any creative EQ, and finally a limiter with your LUFS target applied last.
- Denoise using your room-tone reference.
- Cut for content and pacing.
- Apply corrective EQ to fix problem frequencies.
- Compress for consistent volume.
- De-ess if needed.
- Apply creative or presence EQ.
- Limit and normalize to your target LUFS.
For a single episode, run this chain start to finish before export. For batch processing multiple episodes, apply cleanup and EQ as a saved preset across all files first, then handle content-specific cuts and final leveling individually, since energy and mic distance often shift between recordings even in the same session.
File management matters more than most creators admit until they lose a session. Keep your raw, unprocessed takes backed up separately from your edited project files. Use a consistent naming convention (date, episode number, and version) so nothing gets overwritten by accident. A local backup plus a cloud copy covers most failure scenarios.
When using AI finishing tools, always listen to the output rather than trusting it blind, they occasionally over-smooth voices or misjudge de-essing thresholds on ambient noise.
Fixing the Audio Problems That Wreck Otherwise Good Content
Hum and electrical noise usually trace back to ground loops. Swap cables first, then try a different power outlet or a ground loop isolator before assuming your gear is broken.
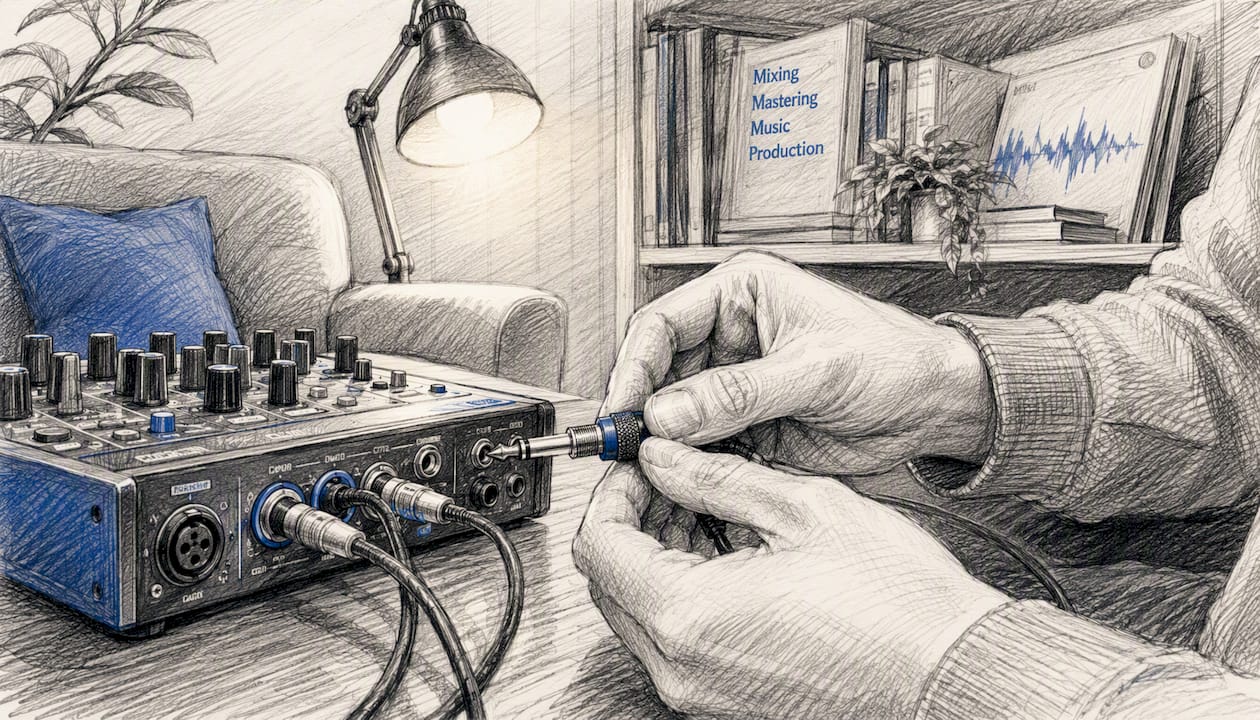
Clipping and distortion mean your input gain was too hot. Lower it and re-record, since clip recovery tools help only marginally and can't rebuild audio information that was never captured. Baked-in distortion on an already-published take isn't fixable, treat it as a lesson for next time.
Latency during live streams almost always comes down to buffer size. Increase your buffer size in your interface's control panel, and check that you're using the correct audio driver rather than a generic system driver.
For uneven voice levels, a quick EQ and compression pass fixes most intelligibility problems: cut muddy low-mid frequencies, add a small presence boost, and apply moderate compression to smooth out volume swings between quiet and loud moments.
- Hum: swap cables, isolate power, check grounding.
- Clipping: lower gain, re-record if baked in.
- Latency: increase buffer size, verify driver.
- Uneven levels: EQ plus compression, not just volume automation.
Your Printable, Tick-Box Session Checklist
Print this and keep it at your recording station, or save it in your editing folder for reference before every export.
- Room checked for noise sources, windows and HVAC off
- Mic positioned 4 to 8 inches away, correct angle
- Input gain set, peaks at -12 dBFS to -6 dBFS
- 10 seconds of room tone recorded
- Test take reviewed on headphones
- Denoise applied lightly, using room tone reference
- EQ, compression, de-essing, limiter applied in order
- LUFS checked against platform target
- Phone-speaker playback test passed
- Raw files backed up before export
Use the short version for single-episode quick checks and the full version for weekly batch sessions where consistency across multiple files matters more.
Which TabTasker Tools Cover Which Checklist Tasks?
Every finishing step in this checklist maps to a specific browser tool, and all of them process your files locally, no upload, no account, no file sitting on someone else's server while you wait for it to finish.
| Checklist Task | Tabtasker Tool | Use Note |
|---|---|---|
| Trim dead air and mistakes | Trim Audio | Drag in your file, mark start and end points, export instantly |
| Remove background noise | Background Noise Remover | Load your room-tone sample alongside the take for cleaner results |
| Convert formats for export | Audio Converter | Match codec and sample rate to your platform's requirements |
| Reduce file size before upload | Compress Audio | Useful for podcast hosts with upload size limits |
| Create short clips from episodes | Podcast Teaser Factory | Trims, retunes, and captions a highlight clip in one pass |
| Generate transcripts and captions | transcription guide | Keeps spoken content private while producing text for captions |
Since nothing leaves your device, sensitive interviews, unreleased episodes, or client audio never touch a third-party server. To trim a file, open the Audio Editor, load your take, mark your cut points, and export directly, no waiting on an upload bar, no processing queue.
Why a Checklist Beats Gear Chasing Every Time
Most creators trying to improve their sound start by researching microphones. That's backwards. The consistency that separates good-sounding shows from great-sounding ones comes from process discipline, not from a shopping list.
If you fix one thing this week, fix your gain staging and mic placement before you touch a single plugin. A single finishing chain, applied the same way every episode, does more for perceived quality than any individual piece of gear you could buy next. Print the checklist above and run it before you hit record, not just when something already sounds wrong.
Finish Your Audio Faster, Without Sending It Anywhere
Every tool in this checklist, trim, denoise, convert, compress, works entirely in your browser, which means your raw takes and unreleased episodes never leave your computer while you edit them.
- Private by design: processing happens client-side, so there's no upload step and no account required.
- Free for everyday finishing: trimming, denoising, and converting cost nothing, no subscription gate on the basics.
- Exports set to platform targets: convert and compress with the codec and loudness settings your destination actually expects.
If you're finishing an episode right now, open the Audio Editor and run your file through a trim and denoise pass before you export. It takes less time than reading the rest of this sentence took, and your file stays on your own machine the entire time.
Frequently Asked Questions
What's the minimum audio setup for a content creator just starting out? A dynamic microphone, a 2-input USB audio interface, and closed-back headphones cover the starter tier. Add a boom arm and pop filter for consistent mic positioning, and you're ready to record without touching acoustic treatment yet.
Do I need studio monitors, or are headphones enough? Calibrated headphones work as a legitimate primary monitoring option for most creators, according to Sonarworks. Studio monitors add value once you're mixing music or handling detailed multi-track projects regularly.
What LUFS target should I use for podcasts versus YouTube? Most platforms, including YouTube, Spotify, and Instagram, favor around -14 LUFS. Apple Podcasts commonly targets closer to -16 LUFS, so check your specific destination before finalizing your export.
How do I fix background hum in a recording? Swap your cables first, then try a different power outlet or a ground loop isolator. Persistent hum after both steps usually points to a grounding issue with your interface or building wiring.
Can AI tools replace good recording practice? No. AI mixing and denoising tools work best on already well-recorded material and function as finishing aids. A poorly gained or noisy recording still sounds poorly gained after AI processing, since the tools can't invent detail that was never captured.
How often should I back up my raw audio files? Back up immediately after recording, before you start editing. Keep raw takes in a separate location from your edited project files, ideally both a local drive and a cloud copy, so a single failure doesn't cost you the original recording.
Sources
- Gain staging guide · Avid Resource Center
- The 2026 Home Studio Setup Checklist - Sonarworks Blog
- The Audio Finishing Checklist Every Social Media Creator Needs · Pixteller