 TabTasker
If you're a mobile creator, use on-device apps built on Whisper's small or base models for quick, private capture. If you work primarily in a browser, a client-side tool that never uploads files, like the one built into Tabtasker, handles single files with zero setup. If you're processing hours of audio at scale, a self-hosted server running Docker with GPU acceleration is worth the maintenance overhead.
Every offline transcription workflow needs the same five building blocks: capture, preprocessing (noise reduction, normalization, voice activity detection), an inference engine (Whisper, VOSK, or Kaldi), optional diarization, and a post-processing/export step that produces clean, timestamped text. Skip any one of these and quality suffers, regardless of which model you pick.
Before committing to any setup, run this checklist:
- Does the tool run with the network disabled, and have you confirmed it in Airplane Mode?
- Can you measure Word Error Rate (WER) and Real-Time Factor (RTF) on a sample file?
- Does loudness sit near -16 LUFS after preprocessing, matching common speech-model expectations?
- Is there a diarization option if you need speaker labels?
Pro Tip: Before trusting any "offline" claim, disconnect your device from Wi-Fi and cellular data entirely, then run a transcription. If it completes, you've verified the claim yourself instead of taking a vendor's word for it.
Key Takeaways
The most reliable offline transcription workflow matches preprocessing, model size, and deployment pattern to your device and scale, rather than chasing the newest ASR model.
| Point | Details |
|---|---|
| Match approach to scale | Mobile on-device for quick clips, browser client-side for single files, self-hosted for backlogs. |
| Preprocessing beats model swaps | Normalizing loudness and trimming silence often improves accuracy more than a bigger model. |
| Verify offline claims yourself | Run an Airplane Mode test before trusting any tool's privacy promise. |
| Scale throughput, not just speed | Parallel chunk submission clears backlogs faster than optimizing single-file latency. |
| Try Tabtasker for zero-setup privacy | Its browser-based speech-to-text tool transcribes locally with no uploads or account needed. |
Table of Contents
- Which Offline Transcription Approach Fits Your Setup?
- Why Offline Transcription Still Matters For Creators
- What Toolchains Work For Each Deployment Pattern?
- How Do You Build a Transcription Pipeline Step by Step?
- How Do You Self-Host a Transcription Server?
- How Fast Can Offline Transcription Actually Scale?
- How Do You Verify Offline Behavior and Accuracy?
- What Privacy and Compliance Controls Still Apply Offline?
- Three Starter Templates You Can Try This Week
- When Do I Choose Client-Side Versus Self-Hosted?
- A Practical Option for Private, Browser-First Transcription
- Sources
Which Offline Transcription Approach Fits Your Setup?
Picking a workflow gets easier once you stop comparing models and start comparing constraints: your device, your privacy tolerance, and how much audio you're actually processing.
| Best For | Platform | Privacy / Offline Capability | Hardware Requirements | Accuracy vs Speed | Deployment Pattern | Cost Shape |
|---|---|---|---|---|---|---|
| Solo creators, quick clips | Mobile (iOS/Android) | Fully offline once model downloaded | CPU only, moderate battery draw | Moderate accuracy, fast on short clips | On-device | Free, one-time model download |
| Journalists, single-file privacy | Browser (client-side) | Files never leave the device | CPU, browser-dependent | Good accuracy, slower on long files | Client-side browser | Free, no infrastructure |
| Podcast teams, batch backlogs | Desktop / self-hosted server | Fully offline behind your firewall | CPU viable, GPU recommended | High accuracy, high throughput with GPU | Self-hosted server | Compute and maintenance cost |
| Live captioning, hybrid needs | Mixed (capture on device, inference on server) | Offline end-to-end if server is local | CPU capture, GPU inference | High accuracy, low latency with tuning | Hybrid | Moderate, scales with usage |
A few things the table doesn't show on its own:
- Mobile on-device transcription trades some accuracy for convenience. It's the right call when you need a quick draft transcript of a voice memo, not a publishable one.
- Browser client-side tools like Tabtasker's audio workspace suit anyone allergic to installing software or trusting a cloud vendor with sensitive interviews.
- Self-hosted servers pay off once you're transcribing more than a few hours a week. Below that, the setup time outweighs the benefit.
- Hybrid setups make sense for live events: capture happens locally on a phone or laptop, but the heavy inference runs on a nearby server for speed.
Pro Tip: Don't build the full pipeline on day one. Pick the smallest version that proves the concept, one ten-minute audio file, one model, one export format, and only add complexity once that works.
Why Offline Transcription Still Matters For Creators
Cloud transcription services are convenient, but convenience has a cost that's easy to overlook until something goes wrong.
- Privacy: files never leave your device, which matters enormously for legal depositions, medical interviews, or anything under an NDA.
- Compliance: local processing sidesteps a lot of the data-residency and third-party-processor questions that come with uploading audio to an external server.
- Reliability: an offline pipeline works on a plane, in a basement studio, or anywhere your internet connection is spotty.
- Cost predictability: once you own the compute, per-minute transcription costs disappear, replacing metered API bills with a fixed hardware or electricity cost.
There's also a latency argument that gets overlooked. Local inference cuts out the network round-trip entirely, which matters for near-live captioning where every second of delay is visible to a viewer.
Pro Tip: Turn on Airplane Mode, then transcribe a file. If it finishes without an error, you've just proven, not assumed, that your files aren't leaving your device.
What Toolchains Work For Each Deployment Pattern?
The right toolchain depends less on which model sounds most impressive and more on where your audio is captured and where it gets processed.
Mobile on-device. Capture happens directly in a recording app, then a quantized version of OpenAI's Whisper small model runs locally for inference. Battery drain and storage are the real constraints here, since larger models simply won't run smoothly on a phone. Skip diarization on mobile unless the app bundles a lightweight speaker-separation model; most don't.
Browser client-side. Capture and file selection happen in the browser, and inference runs using WebAssembly or a bundled JavaScript port of a speech model, all without a server involved. OpenTranscriber is a good example of what this pattern can do: inline editing, segment loop playback, and speaker filtering, all running locally in a browser tab. Codec support varies by browser, so converting audio to a widely supported format first (a step Tabtasker's audio converter handles without uploading anything) avoids playback failures mid-transcription.
Self-hosted server. This is where Kaldi and full-size Whisper models earn their keep. Kaldi remains a mature, well-documented toolkit for teams that want fine-grained control over acoustic models, though it has a steeper learning curve than Whisper's out-of-the-box usability. Projects like Scriberr package this kind of self-hosted transcription into a more approachable app for people who don't want to wire up Kaldi from scratch. GPU acceleration matters most here, since batch jobs running dozens of files benefit enormously from parallel processing that a CPU can't match.
Hybrid. Capture stays client-side (on a phone or in a browser), while the heavy inference workload gets shipped to a self-hosted server on the same network. This pattern suits live events, panel recordings, or any situation where you want offline privacy but don't want to run inference on underpowered capture hardware.
| Approach | Capture | Inference Engine | Diarization | Hardware Note |
|---|---|---|---|---|
| Mobile on-device | Phone mic app | Quantized Whisper small | Rare, app-dependent | CPU only, battery-sensitive |
| Browser client-side | Browser file picker | WASM/JS Whisper port | Optional, model-dependent | CPU, codec-limited |
| Self-hosted server | Watch folder or upload UI | Kaldi or full Whisper | Pyannote or similar | GPU recommended for scale |
| Hybrid | Local device | Server-side Whisper/Kaldi | Server-side, full-featured | CPU capture, GPU inference |
Pro Tip: Choose hybrid when your capture device (a phone, a field recorder) can't handle inference but you still want zero cloud dependency. Ship the raw audio over your local network to a home server instead of the internet.
How Do You Build a Transcription Pipeline Step by Step?
A working pipeline is a sequence, and skipping steps or reordering them is where most homegrown workflows fall apart.
Step 1: Capture with the right format. Record at 16kHz or 44.1kHz sample rate in mono where possible; most ASR models expect 16kHz mono WAV input anyway, so recording in a compatible format from the start saves a conversion step later.
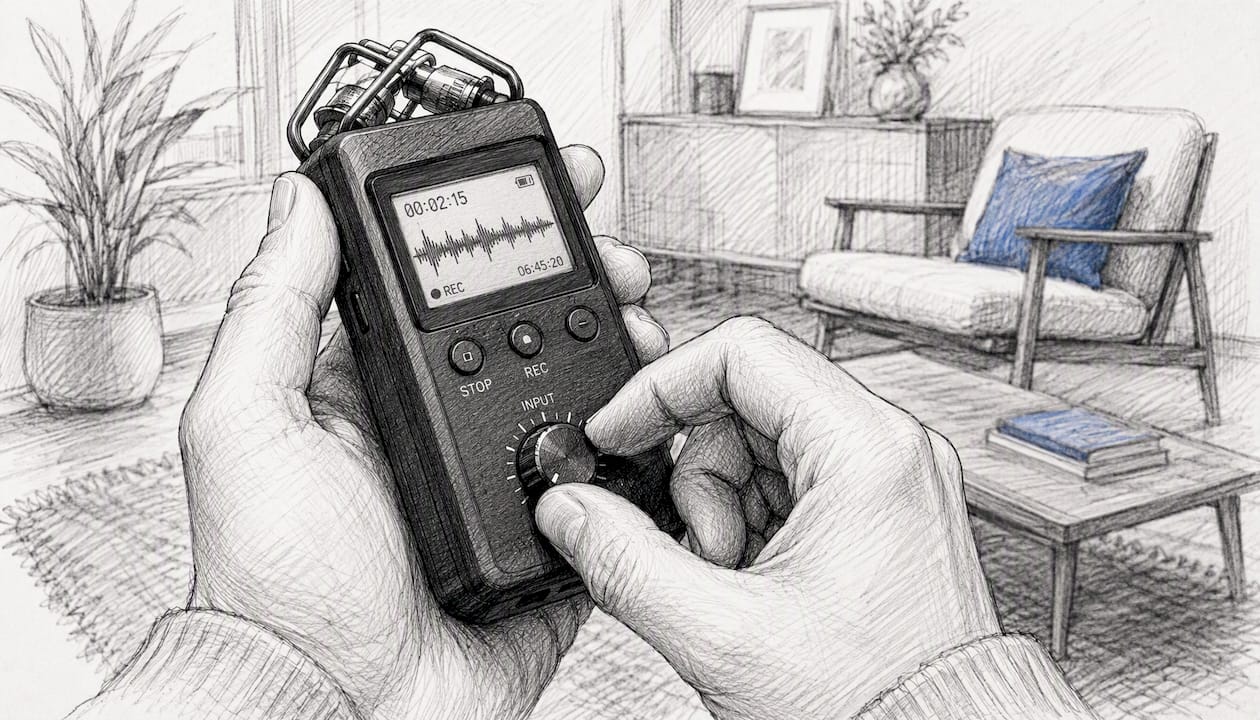
Step 2: Normalize and clean the audio. Loudness normalization to around -16 LUFS and stripping long stretches of silence materially improve downstream accuracy, according to a developer field guide on building resilient transcription pipelines. A typical ffmpeg pass looks like this conceptually: normalize loudness, then resample to the model's expected rate, then trim silence longer than a couple of seconds.
Step 3: Chunk long files with overlap. Files longer than ten or fifteen minutes should be split into overlapping segments, typically 30 to 60 seconds with a few seconds of overlap, so that words spoken right at a chunk boundary don't get cut off or duplicated. Stitching the chunks back together means dropping the duplicate words in the overlap region, which most transcription frameworks handle automatically if you flag the overlap length.
Step 4: Pick a model size that matches your hardware. Small models transcribe faster but miss more words in noisy audio. Large models catch more nuance but need a GPU to run at a usable speed. If you're on a laptop CPU, a medium quantized model is usually the sweet spot between wait time and readable output.
Step 5: Run diarization if speaker labels matter. Diarization tags who said what, which is essential for interviews or panel recordings but adds processing time and complexity. Merge diarization timestamps with the transcript's word-level timestamps to get a clean speaker-labeled script.
Step 6: Store your raw outputs. Save the raw model output, not just the cleaned final transcript, so you can audit accuracy later or re-run post-processing without re-transcribing the whole file.
| Chunk Size | Overlap | Expected Behavior on Constrained Devices |
|---|---|---|
| — | 2 seconds | Fast, but more seams to stitch; fine for phones |
| 30 seconds | 3 seconds | Balanced speed and accuracy on most laptops |
| 60 seconds | 5 seconds | Fewer seams, but slower per-chunk on CPU-only setups |
Pro Tip: Keep every raw transcript output in a dated folder, even the messy first-pass ones. When you tweak your preprocessing later, you'll want a clean before-and-after comparison to prove the change actually helped.
The overall shape of this pipeline, normalization through diarization, matters more for final quality than which specific model you choose. Teams that obsess over model selection while skipping preprocessing routinely end up disappointed.
How Do You Self-Host a Transcription Server?
Self-hosting makes sense once you're transcribing regularly enough that per-file cloud costs, or per-file privacy risk, start adding up.
A minimal setup uses Docker and docker-compose: one container running your ASR model (Whisper or Kaldi), an optional second container for diarization, and a shared volume for input and output files; to explore helpful tools, check out Best AI Tools For Podcast Clips. This keeps dependencies isolated and makes it easy to tear down and rebuild without touching your host system.
GPU versus CPU is the first real decision. A CPU-only setup works fine for occasional batch jobs, a few hours of audio processed overnight. Once you're running daily batches or need near-real-time turnaround, a GPU becomes worth the investment; expect transcription speeds several times faster than CPU on the same model.
Networking and security deserve attention even on a "private" setup:
- Use SSH keys instead of passwords for any remote access to the server.
- Firewall off all ports except the ones you actually need exposed.
- Put TLS in front of any admin dashboard, even on a local network.
- Keep the transcription pipeline itself fully offline; only your management interface needs external access, if any.
Maintenance is ongoing, not one-time. Pin your dependency versions so an update doesn't silently break your pipeline. Track GPU driver compatibility separately from your model updates, since driver mismatches are a common source of mysterious failures. Back up raw audio and raw transcript output regularly, since re-transcribing months of backlog because a drive failed is a painful way to learn that lesson.
Pro Tip: Tag your container images with specific versions instead of "latest," and mount a persistent volume for model weights. This avoids re-downloading multi-gigabyte models every time you rebuild a container.
How Fast Can Offline Transcription Actually Scale?
Once you move past single-file experiments, the question changes from "is this accurate" to "how much audio can I clear per hour."
Throughput and latency are different problems. Latency is how long one file takes. Throughput is how many hours of audio you process per hour of wall-clock time, and it's throughput that matters once you're sitting on a backlog of dozens or hundreds of files.
The most common mistake teams make at scale is optimizing single-file speed when the real constraint is concurrency. AssemblyAI's operational guidance on throughput notes that chunking files and submitting them in parallel clears backlogs faster than metering submissions to stay under a rate limit.
The practical pattern: split long files into chunks, submit them all at once to as many parallel workers as your hardware supports, then stitch the results back together with overlap trimming. A two-stage setup, with fast preprocessing and voice activity detection on CPU and heavier model inference on GPU, lets you scale each stage independently instead of bottlenecking the whole pipeline on your slowest component.
- Run preprocessing (normalization, chunking, VAD) as a separate CPU-bound worker pool from GPU inference.
- Use asynchronous job queues rather than synchronous, one-file-at-a-time processing.
- Measure both RTF (how many seconds of processing per second of audio) and WER together; a faster pipeline that's less accurate isn't actually saving you time once you factor in manual correction.
Pro Tip: Scale your CPU preprocessing workers independently from your GPU inference workers. A stalled GPU queue rarely means you need more CPUs, and vice versa.
How Do You Verify Offline Behavior and Accuracy?
Trusting a tool's "works offline" claim without testing it yourself is how privacy assumptions quietly fail.
Start with the Airplane Mode test: disable Wi-Fi and cellular, disconnect any ethernet cable, then run a transcription from start to finish. If it completes without an error, you've confirmed offline behavior directly instead of taking a claim on faith. For a stronger check, run a network monitor in the background and confirm zero outbound connections during the job.
For accuracy, build a small benchmark set of three to five audio files representing your typical use case (clean interview audio, noisy field recording, multi-speaker panel). Measure WER by comparing the model's output against a manually corrected reference transcript, word by word. Measure RTF by dividing processing time by audio duration, a value under 1.0 means the model transcribes faster than real time.
Also check timestamp drift on longer files. If word-level timestamps have drifted by more than a second or two by the end of a 30-minute file, your chunking or stitching logic likely needs adjustment.
Pro Tip: Use timestamped transcripts to jump straight to suspicious segments, mumbled speech, overlapping talkers, background noise, instead of re-listening to an entire file to find where accuracy dropped.
What Privacy and Compliance Controls Still Apply Offline?
Offline processing removes the biggest privacy risk (files never leaving your device), but it doesn't eliminate every control you need.
- Disk encryption protects transcripts and raw audio if a laptop or server is lost or stolen.
- Scoped permissions matter on shared machines or team servers; not everyone needs access to every transcript.
- Ephemeral processing (deleting intermediate chunk files after stitching) reduces the window where sensitive audio sits unencrypted on disk.
- Secure export formats matter too; a plain-text transcript emailed without encryption defeats the purpose of processing it offline in the first place.
Offline doesn't mean ungoverned. Teams handling sensitive interviews still need internal policy alignment on who can access raw transcripts, an audit trail of who opened which file, and a redaction process for anything that shouldn't be shared broadly before it's forwarded or published.
Pro Tip: Pick a browser-based tool that's architecturally incapable of uploading your files, not just one that promises not to. You can verify that design by checking your browser's network activity tab during a transcription job.
Three Starter Templates You Can Try This Week
Each of these is small enough to test in under an hour.
Template A: Browser-private file transcription. Open a client-side transcription tool, drop in a single audio file, and export the transcript. No install, no account, no upload. Best for one-off interviews or quick drafts.
Template B: Mobile on-device capture. Record directly in an app with a bundled on-device model, let it transcribe locally, then export the text file. Watch battery drain on longer recordings; anything over 20 minutes will noticeably warm up the phone.
Template C: Self-hosted batch processing. Set up a watch folder that triggers preprocessing, chunking, and parallel inference automatically whenever a new file lands, then stitches and exports the result. Best for podcast backlogs or recurring weekly recordings.
| Template | Setup Time | Turnaround (30-min file) | Resource Need |
|---|---|---|---|
| Browser-private | Under 5 minutes | 5 minutes | Any modern laptop or desktop |
| Mobile on-device | Under 15 minutes | 10 minutes | Mid-range smartphone |
| Self-hosted batch | 1 to 3 hours (first setup) | 2 to 5 minutes with GPU | Dedicated server or workstation |
Pro Tip: Track how long manual transcription used to take you for the same type of file, then compare it against your new workflow's turnaround. That comparison is the real measure of whether the setup time paid off.
When Do I Choose Client-Side Versus Self-Hosted?
The technical comparisons matter less than the honest question of how much ongoing maintenance you're willing to take on.
Self-hosted servers give you the most control and the best throughput, but they also come with driver updates, dependency conflicts, and the occasional 2 AM troubleshooting session when a container won't start. Browser-based tools carry none of that burden. Nothing to patch, nothing to back up, nothing that breaks when an operating system update changes GPU driver behavior underneath you.
My rule of thumb: if you're transcribing occasionally and privacy matters more than raw throughput, choose a browser-client tool and never look back. If you're running daily batch jobs across hours of audio, the self-hosted route earns its complexity. Most creators overestimate how much throughput they actually need and underestimate how much time server maintenance quietly eats.
A Practical Option for Private, Browser-First Transcription
If the self-hosted route sounds like more infrastructure than your workflow needs, a browser-first tool solves the same core problem, keeping your files off someone else's server, without the Docker containers or GPU drivers.
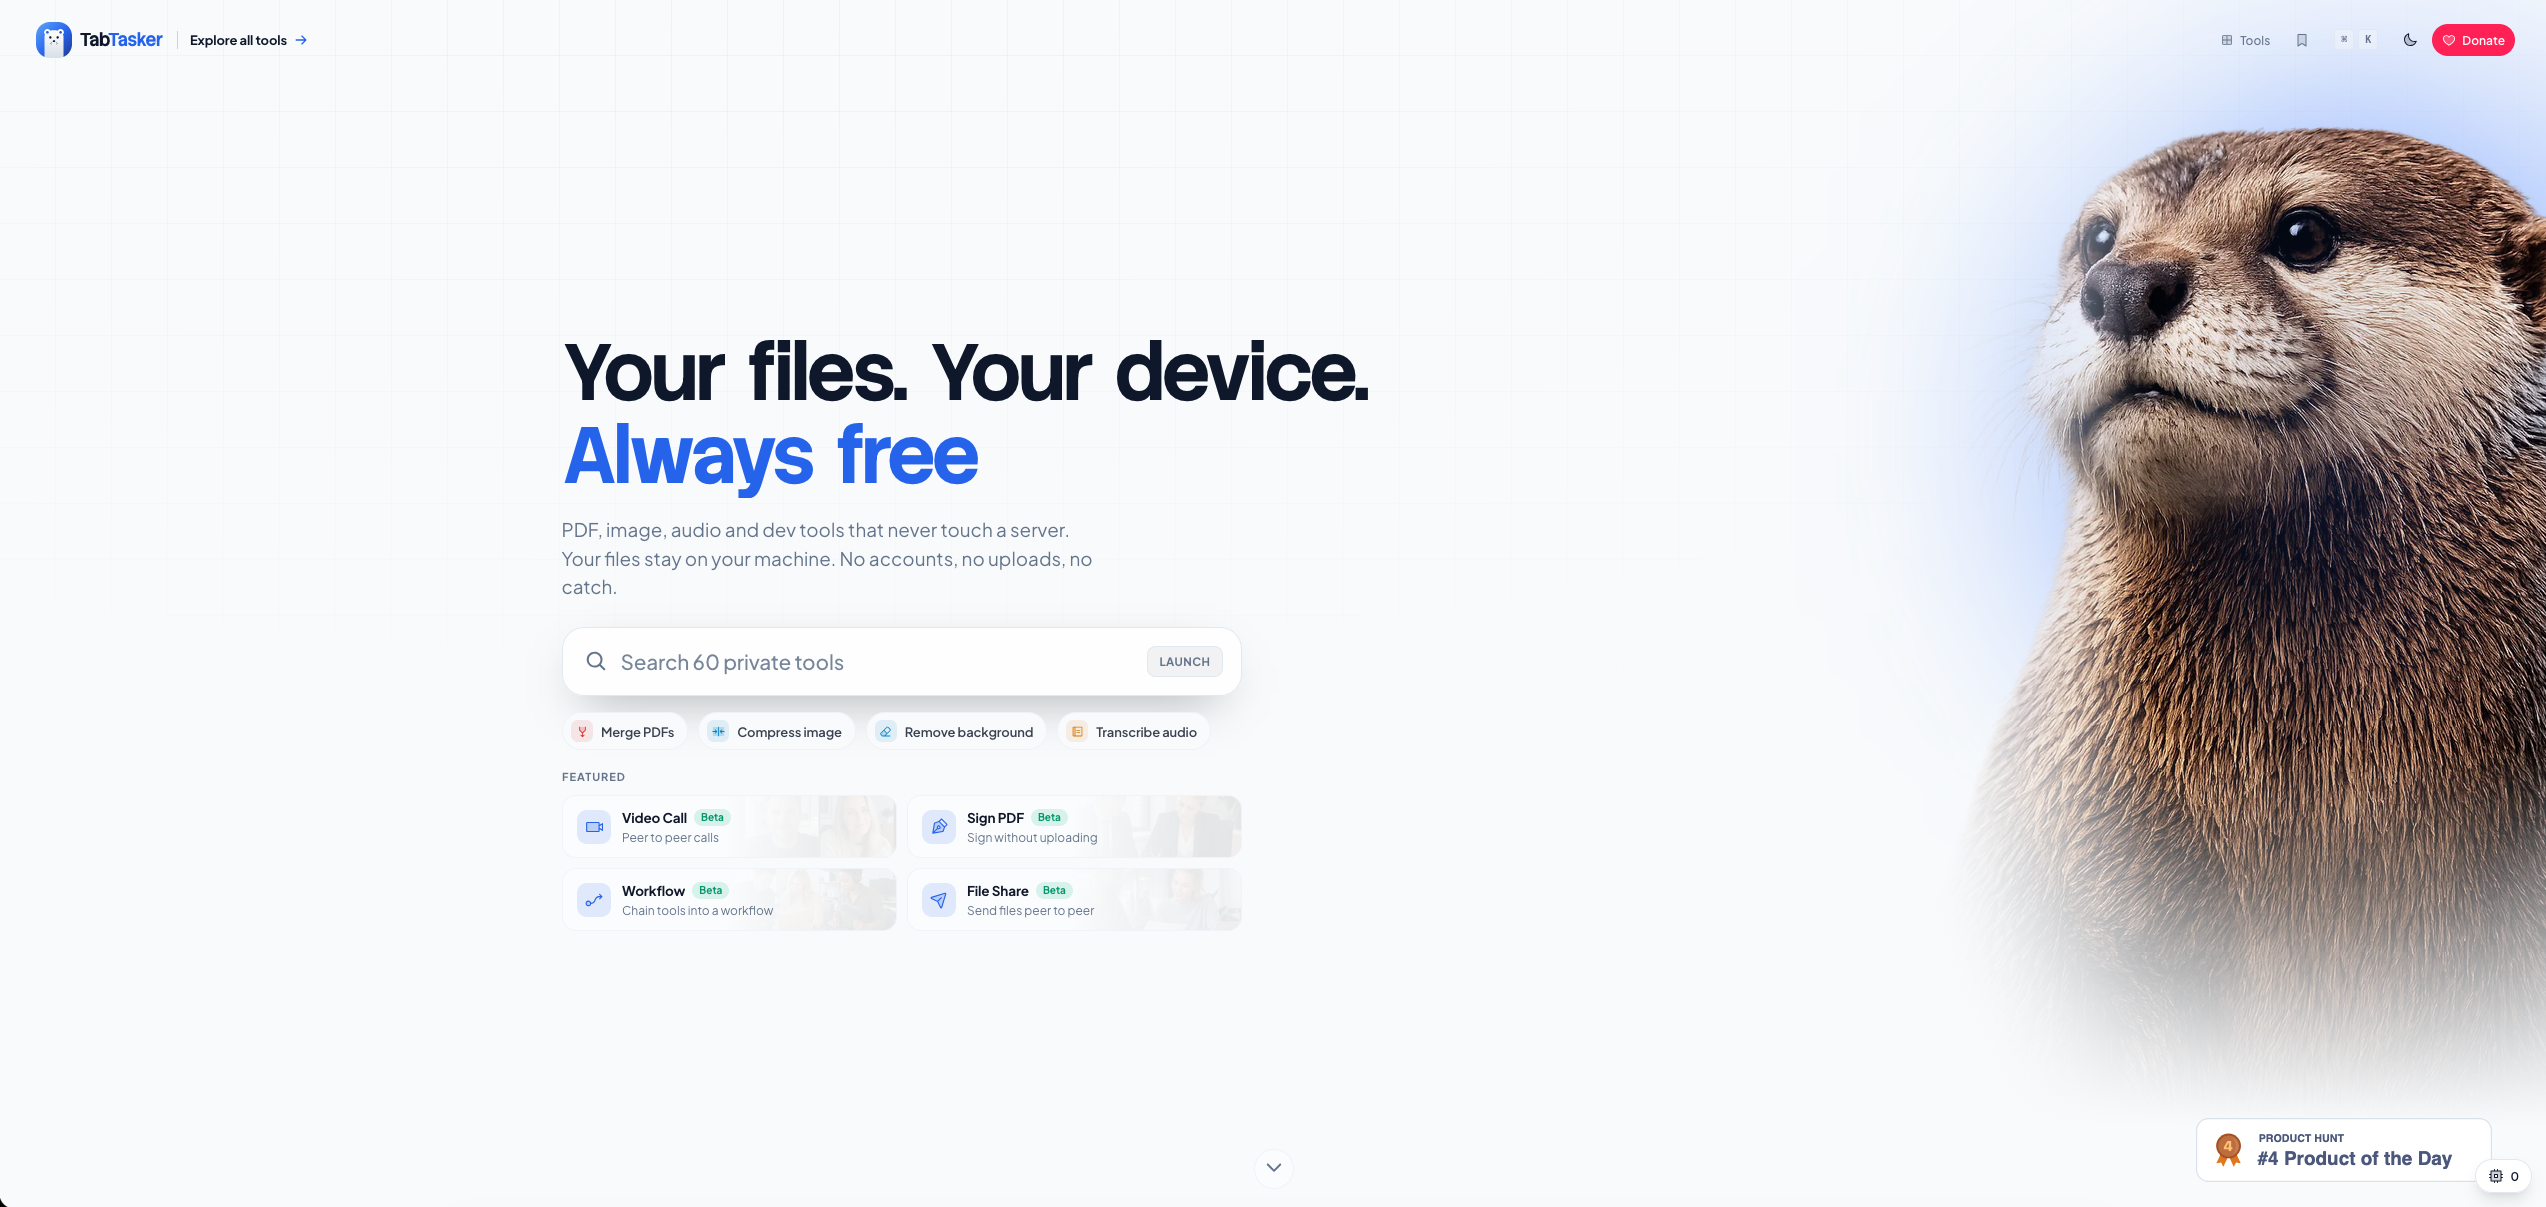
Tabtasker's speech-to-text tool processes audio directly in your browser tab, with nothing uploaded and no account required to start. For creators juggling interview audio in mixed formats, the audio converter and audio workspace handle trimming and format conversion in the same local, upload-free environment before you ever hit transcribe. Once your transcript is out, the text editor lets you clean it up without pasting sensitive content into another cloud service.
Pro Tip: Test Tabtasker's audio workspace with Wi-Fi off before you trust it with a sensitive interview. Watching it complete the job with no connection is the fastest way to confirm the privacy claim yourself.
Start with a single file at Tabtasker and see how the browser-private template performs against your current workflow.
Sources
- arXiv preprint relevant to ASR
- Kaldi
- Build a Reliable AI Transcription Pipeline: A Developer’s Field Guide - DEV Community
- OpenTranscriber