 TabTasker
The fastest way to resize a GIF image is to use a browser-based resizer that supports both custom pixel dimensions and social platform presets — no software install, no account, and your file never leaves your device if you pick the right tool. Here's the three-step version: upload your GIF, set your target dimensions (pixels, percentage, or a preset), then download the resized file. That's it.
The privacy detail matters more than most guides admit. Some "free" online tools upload your file to a remote server for processing, which means your GIF passes through someone else's infrastructure. Client-side tools process everything locally in your browser, so the file stays on your machine. GIF - Wikipedia notes that the format technically supports pixel dimensions up to 65,535 × 65,535, though in practice social platforms work with far smaller targets — reaction GIFs often land around 240×240 px, while standard upload sizes run closer to 640×480 px.
Key Takeaways
Client-side browser tools are the fastest and most private way to resize an animated GIF, and Tabtasker's image resize tool delivers that without an account or upload.
| Point | Details |
|---|---|
| Use a browser-based resizer | Upload, set pixels or pick a social preset, preview, and download — no install needed. |
| Coalescing prevents artifacts | Choose a tool that auto-coalesces frames before scaling to avoid ghosting and dropped frames. |
| Reduce file size in layers | Lower dimensions first, then frame rate, then color palette — each step trades quality for size. |
| Convert to MP4 for long GIFs | Video formats compress motion far more efficiently; use when file size matters more than GIF format. |
| Tabtasker keeps files local | Tabtasker's resize tool processes GIFs entirely in your browser — no server upload, no account required. |
Table of Contents
- How to resize a GIF image in your browser, step by step
- GIF-specific caveats that affect quality after resizing
- How to reduce GIF file size without wrecking the animation
- What formats, file-size limits, and privacy policies actually mean for you
- How to pick the right online GIF resizer
- Why Tabtasker works well for quick, private GIF resizing
- Sources
How to resize a GIF image in your browser, step by step
The workflow is consistent across most browser-based tools, and knowing each decision point helps you avoid the small mistakes that produce broken animations.
Step 1: Upload your GIF. Open the resizer in your browser and drag your file onto the upload area, or click to browse. Most tools accept GIF directly; some also accept APNG or WebP.
Step 2: Choose your resize method. You'll typically see three options:
- Custom pixels — type an exact width and height (e.g., 800×600 px). Lock the aspect ratio if you don't want distortion.
- Percentage — scale down to 50% or 75% of the original without calculating pixel values.
- Social preset — pick a named platform size from a dropdown.
Common social presets and their typical pixel targets:
- Instagram feed posts typically use square or portrait formats commonly seen on the platform
- Instagram Stories and Reels typically use a tall, vertical format common to many mobile videos
- X (formerly Twitter) posts typically use a widescreen horizontal format frequently seen in social media
- TikTok videos generally use a full-screen vertical format common to the platform
- Facebook posts often use a horizontal rectangular format standard for shared images
- Reaction or sticker sizes use small square dimensions suitable for quick expression
Adobe Express and similar tools offer preset libraries covering Instagram, TikTok, and X, so you don't have to memorize these numbers.
Step 3: Set your aspect-ratio handling. If your new dimensions don't match the original ratio, you'll need to choose: fit (adds padding/letterbox), crop (trims edges to fill), or stretch (distorts the image). Crop is usually right for social posts; fit works better when you can't afford to lose any frame content.
Step 4: Preview and download. A good tool lets you preview the animation before committing. Check that all frames play correctly, then download.
Pro Tip: Before downloading, scrub through the animation preview frame by frame if the tool allows it. A resized GIF that looks fine as a thumbnail can still have a dropped frame or a color-banding artifact that only shows mid-loop.
GIF-specific caveats that affect quality after resizing
Resizing a static image is straightforward. Resizing an animated GIF is not, because GIF stores frames using a disposal method that tells the decoder what to do with each frame before rendering the next. When a naive resizer scales each frame independently without accounting for disposal instructions, you can end up with "ghosting" — residual pixels from a previous frame bleeding into the current one.
The fix is coalescing: flattening all frames into full, independent images before scaling. Quality tools handle this automatically. If yours doesn't, the symptom is usually a flickering artifact or a partially transparent frame that looks like a smear. Frame delay (the timing between frames) should also survive the resize unchanged; some tools accidentally reset all delays to a default value, which speeds up or slows down your animation.
When you change the aspect ratio, the choice between fit, crop, and pad affects every frame equally. Crop is clean but you lose edge content on every frame. Pad adds a solid or transparent border, which can look odd if the GIF has a transparent background that doesn't match the pad color.
Pro Tip: After resizing, open the downloaded GIF in a browser tab (just drag it in) rather than relying on the tool's own preview. Browsers render GIF disposal and timing the way your audience will actually see it.
How to reduce GIF file size without wrecking the animation
Resizing dimensions is the single most effective lever for shrinking a GIF's file size, but it's not the only one. Here's a short checklist of techniques, roughly in order of impact:
- Lower pixel dimensions. Halving width and height cuts the pixel count to 25% of the original, which typically produces the largest file-size drop.
- Reduce frame rate. Dropping from 25 fps to 12 fps cuts the frame count in half. Most GIFs read fine at 10–15 fps; smooth motion needs 24+.
- Shorten duration. Trim frames from the beginning or end. A 3-second loop is almost always smaller than a 6-second one.
- Reduce the color palette. GIF supports up to 256 colors per frame. Dropping to 64 or 32 colors can cut file size noticeably with minimal visible quality loss on simple graphics. Photos and gradients suffer more.
- Crop the canvas. If only part of the frame contains motion, cropping to that region removes static pixels from every frame.
For web use, a GIF under 1 MB loads quickly on most connections. For social sharing, many platforms re-encode your upload anyway, so sending a slightly larger file is less critical than sending one that plays correctly.
When a GIF is long, high-frame-rate, or photo-realistic, converting to MP4 or WebM is often the smarter move. Video codecs compress motion far more efficiently than GIF's palette-based compression. The trade-off: MP4 doesn't loop silently by default in all contexts, and sharing a video file on some platforms behaves differently than sharing a GIF. Tabtasker's image converter handles format changes in-browser if you want to test that route. For pure size reduction without a format change, the image compression tool is a useful complement.
Pro Tip: Test the lowest frame rate that still reads as smooth before finalizing. Drop to 10 fps, play it back, then step up to 12 or 15 only if the motion looks choppy. Most people can't tell the difference between 15 and 24 fps in a short looping GIF.
What formats, file-size limits, and privacy policies actually mean for you
Most browser-based GIF resizers accept GIF as input and output GIF. Some also accept APNG and WebP as animated inputs, and a few let you export to MP4 or WebM. Behavior varies: converting an animated GIF to MP4 usually produces a much smaller file, but the output is a video, not an image, and looping requires an autoplay loop attribute in HTML or a platform that handles it automatically.
File-size limits on free online tools typically fall in the 5–50 MB range for server-side tools. Client-side tools that process in your browser are limited only by your device's available memory, which is usually more permissive. The GIF resizer workflow on Cloudinary demonstrates the standard server-side flow: upload, configure, download. It works well, but your file does travel to a remote server.
For anything sensitive — a GIF containing a document, a face, or proprietary content — client-side processing is the only option that keeps your data off someone else's server. Understanding how browser-based image editors handle files locally is worth a few minutes if you handle files like that regularly.
How to pick the right online GIF resizer
Not every "free" tool is equally trustworthy or capable. Before you upload, run through this checklist:
- Client-side or server-side? Check the privacy policy or documentation. "Processed in your browser" means local; "we delete files after X hours" means server.
- Preset library. Does it include current sizes for the platforms you actually use? Presets go stale when platforms update their specs.
- Custom pixel input. You need this for non-standard sizes. A tool with only presets will eventually fail you.
- Max file size. Confirm the limit before uploading a large file.
- No forced watermark. Some free tools stamp your output. Check the sample output before committing.
- Animation preview. Can you see the GIF play before downloading? This is non-negotiable for animated files.
- Batch support. If you're resizing multiple GIFs, a tool that handles one file at a time will slow you down.
Red flags worth walking away from: a tool that requires account creation just to download, a privacy policy that mentions "sharing with partners," no visible preview of the animated output, or a watermark you can only remove by paying.
Why Tabtasker works well for quick, private GIF resizing
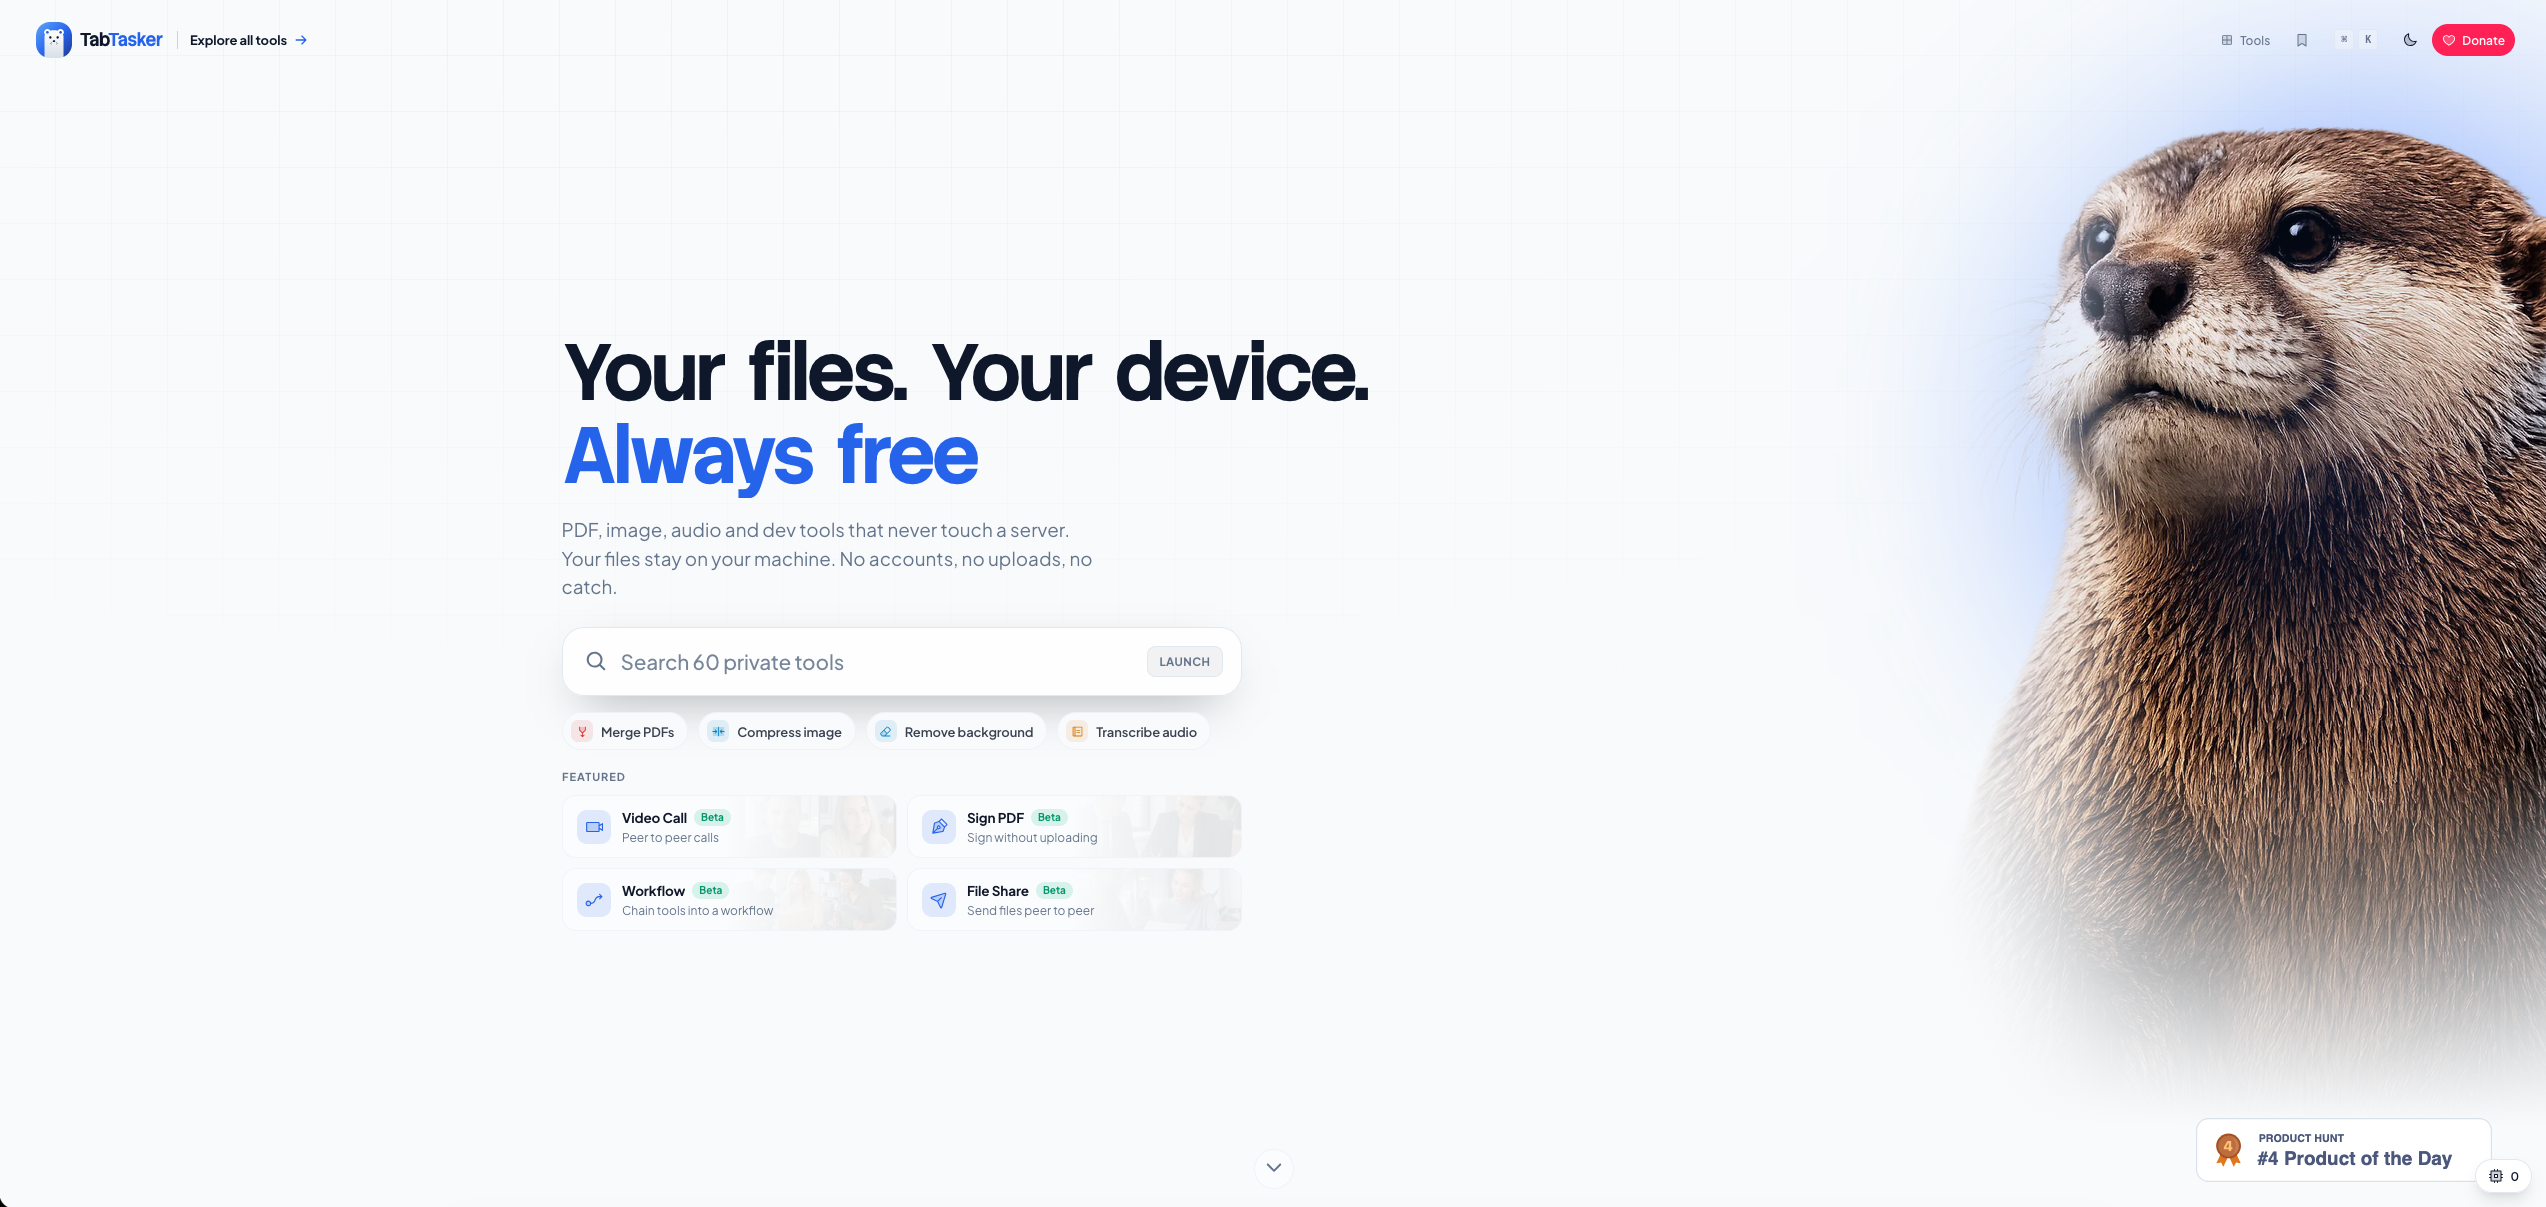
Tabtasker's image resize tool processes your file entirely in the browser, with no upload to any server and no account required. That's the core distinction. Your GIF stays on your device from the moment you open the tool to the moment you download the result.
The workflow takes about 30 seconds:
- Open Tabtasker's image resize tool in your browser.
- Upload your GIF and set your target dimensions — custom pixels, percentage, or a social preset.
- Download the resized file.
Beyond resizing, Tabtasker's image suite includes an upscaler for boosting resolution after a resize, a converter for format changes, and a full image editor workspace for multi-step edits. All of it runs locally. Tabtasker's tools are free, and the privacy model doesn't change based on file type or size.
The case for caring about where your GIF gets processed
Most people resize a GIF, download it, and never think about what happened in between. That's fine for a meme. It's less fine when the GIF contains a screenshot of a document, a frame from a private video, or anything you'd rather not hand to a third-party server.
The practical use cases where resizing actually matters are pretty specific: you're preparing a GIF for a social post and need it under a platform's size limit, you're embedding one in an article and want it to load quickly, or you're reducing a file that's too large to share via email or Slack. In all three cases, a client-side tool gives you the same output as a server-side one, with none of the data-transfer risk.
One recommendation worth keeping: when the content is sensitive, prioritize client-side tools even if they feel slightly less polished. The visual content SEO checklist from Babylove Growth is a useful reference for understanding how image dimensions and formats affect both social performance and page load, which often shapes the resize decision in the first place.
Tabtasker's image resize tool: fast, free, and fully private
Your GIF never has to leave your browser. Tabtasker's image resize tool lets you set custom pixel dimensions or pick a social preset, preview the result, and download a clean resized file — all processed locally, no account needed, no file uploads. If you also need to clean up a photo or remove a background before sharing, the background remover is one click away in the same suite.
Open the resize tool now at Tabtasker and finish your resize in under a minute.
Sources
- Resize Your GIF for Free Online | Adobe Express